
Adobe Photoshop Lightroom فێركاریهك له
Ensuring correct skin color in a photograph is most important for people portraits. Unlike other type of photographs, it’s really important to have right tones and colors in Photographs having people portraits !
Here is my preferred workflow of processing People portraits !!!
1. Import your shot photographs into Lightroom.
2. First step would be adjusting basic things in photograph. Like white-balance, Camera/lens Corrections, Exposure etc. Let’s have a look at tools which help in doing these and I would try to show all the results through screen-shots from my computer.
2a. Go to Develop Module of Adobe Lightroom

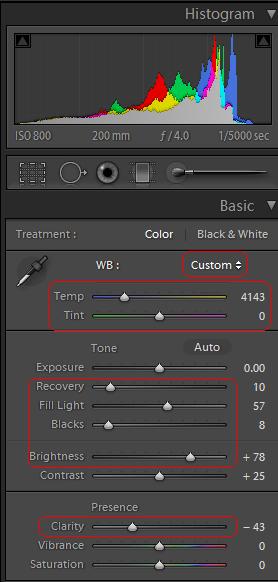
2b. Now you see lot of Adjustment controls on right side of Lightroom. By looking at the photograph of this young boy, we shall start with Basic Adjustments.

Do you see some difference in overall Photograph after basic adjustments? I will not repeat how these controls work. Please check out THIS LINK to understand basic adjustments.
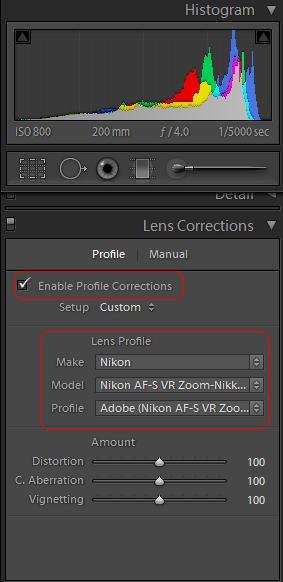
3. Next basic step is to apply Lens correction which will remove very basic distortions from your photograph. In case you have specific requirements, that can be catered through Manual controls.
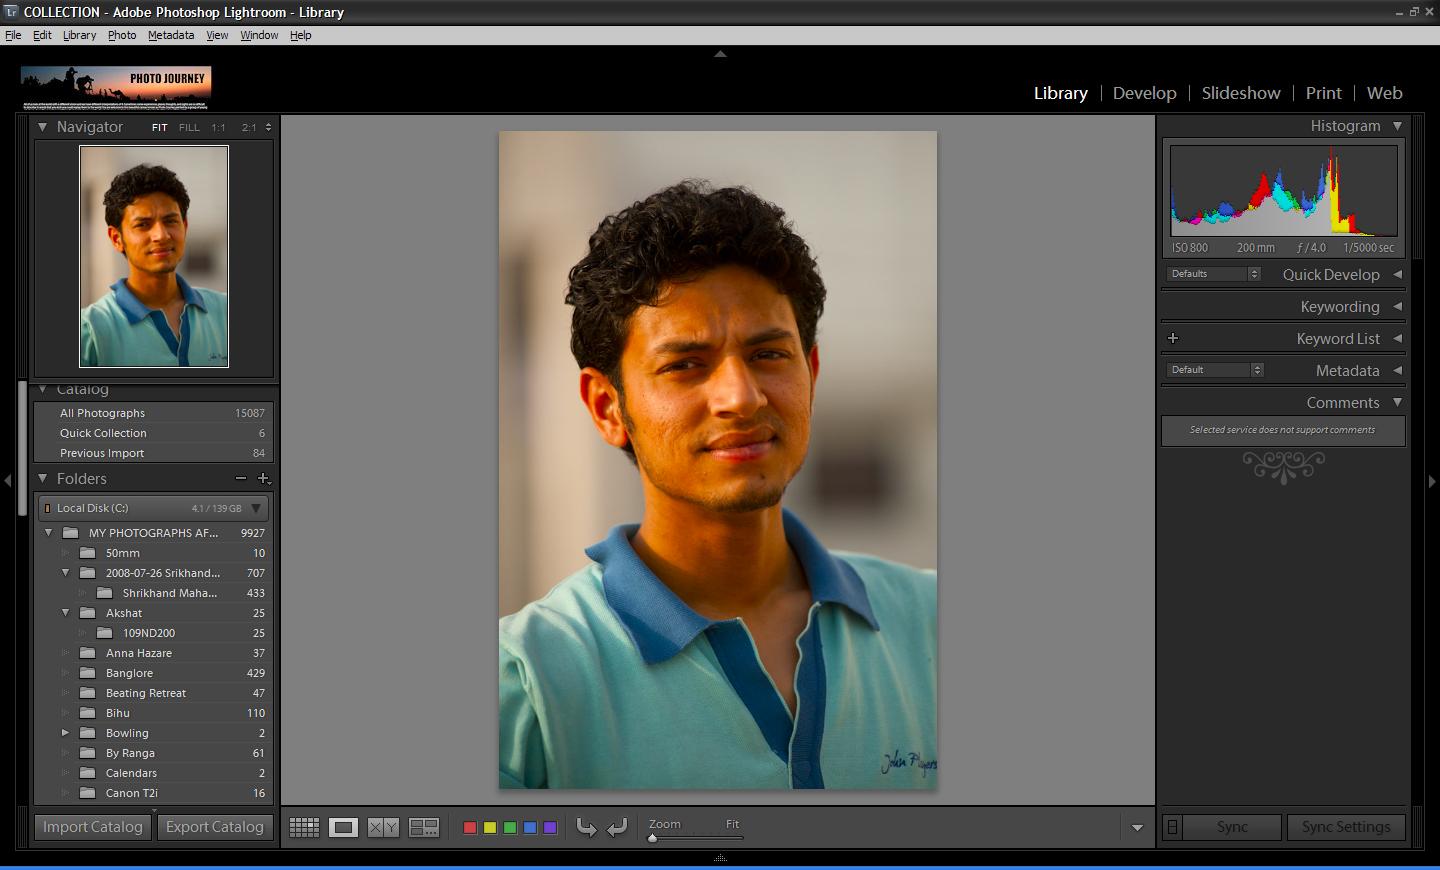
4. Next important step is to zoom and see what extra spots or scars we need to remove from photograph. So just select the area in Navigator which will be shown in the middle of the canvas. Please see screenshot below and marking to understand it better.

After some clean efforts, we see some improvements and more requirement as well… I will stop here to proceed further… Don’t forget to see marking in the screenshot below. You may need to use Close or heal depending upon photographs and density of scars. Also there are sliders to change size and opacity if spot healing brush !!!

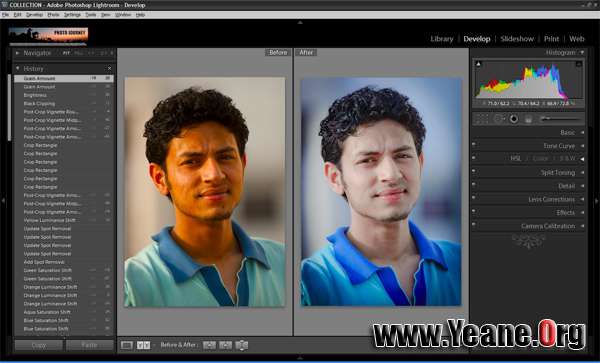
See the difference after using Spot Healing Brush !!!

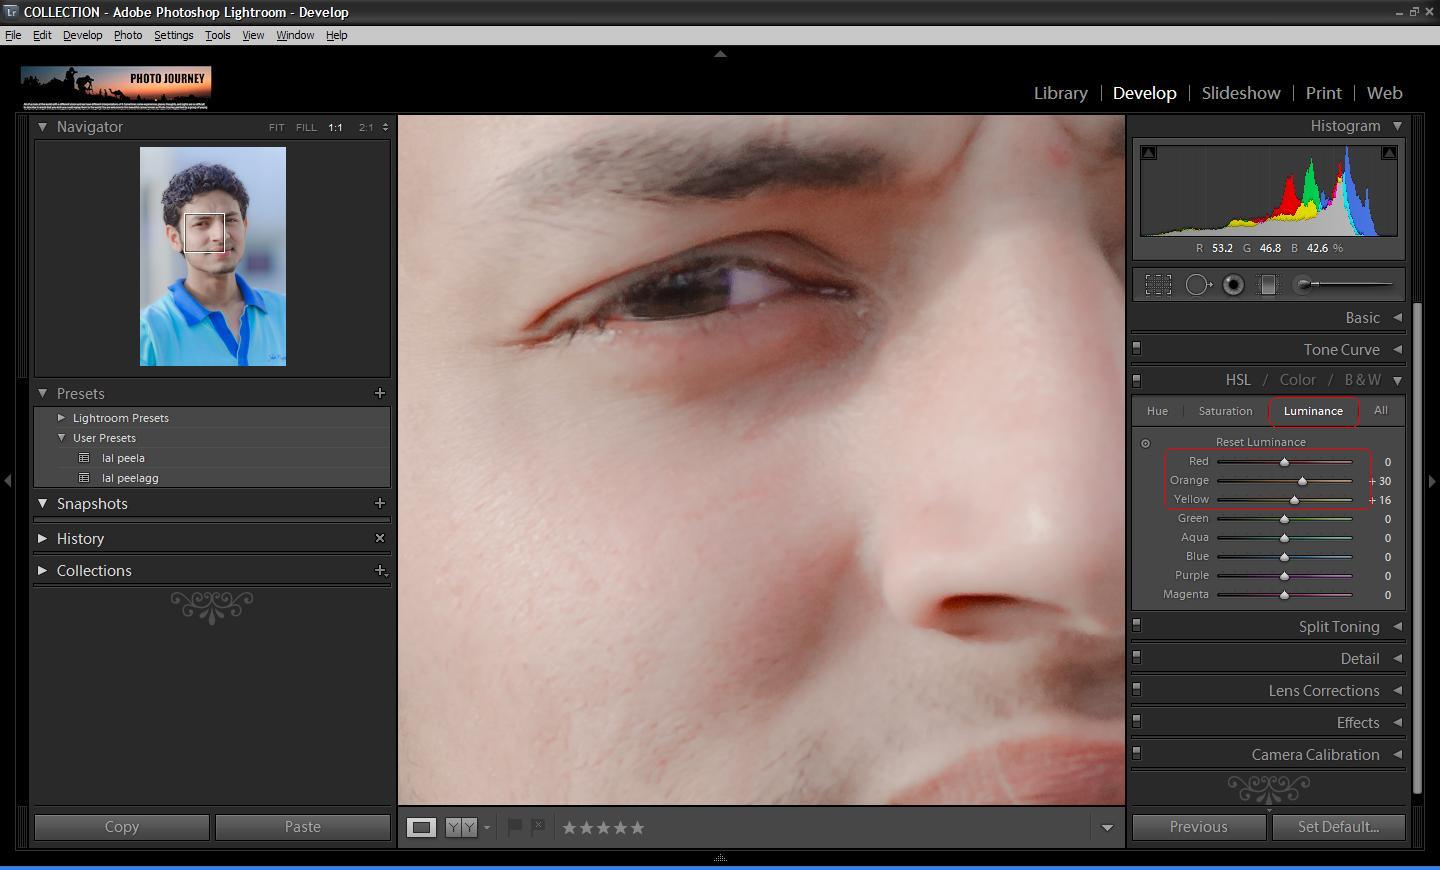
5. Next step would be adjusting tonal values to adjust skin color and shirt !!! Please see photograph below with marks to understand the changes done.

With color smoothness is also important and for boys if it becomes very smooth, use some grains or sharpness depending upon photograph and texture you need.
6. At times some sharpness is required to make things shine. Sharpening hair is a very important thing people want to do in Fashion industry !!! Details section in Develop module give various controls to adjust Sharpness and Noise !!!

7. Lets use Effects controls to have some vignette type effect which is not required and it should be avoided for professional portfolios… But some people like it, so I thought of adding here !!!
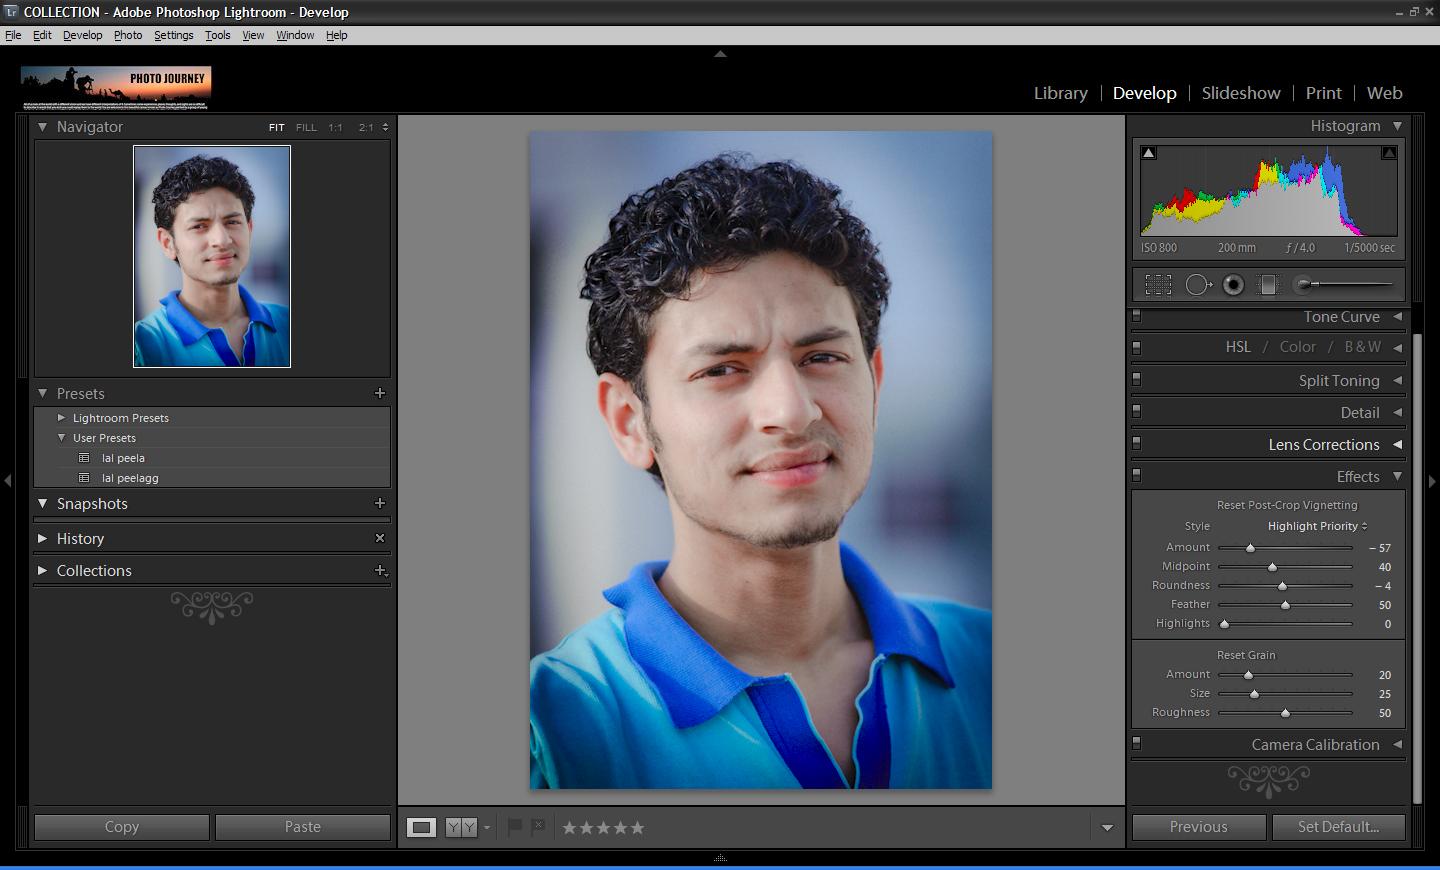
8. See your final results and get ready for next tutorial on Portrait post-production with more details !!!


_________________________________
